Google BigQuery in Cognos Analytics
Let Cognos Analytics do some Googling
Did you realize that you can connect your Cognos Analytics system to a cloud-based big data analytics warehouse? You can, and it’s not that difficult to set up Google BigQuery in Cognos Analytics.
Google’s BigQuery analytics warehouse offering is pretty compelling. While people are generally more familiar with Amazon RedShift as a cloud-based data warehouse, Google compares favorably in a number of ways (see this Reddit thread for details—it’s driven by a Google employee, but the thread participants familiar with RedShift don’t seem to dispute many points).
In the latest version of Cognos Analytics (11.0.6), you now have the ability to query a BigQuery data source from Cognos Analytics, displaying the results in a dashboard, report, visualization, story, etc. Since IBM has yet to provide many details about how exactly to get this working, I’ve written up the process here to get you going. In fact, this article will even walk you through the steps of setting up a free test account with BigQuery so that you can experiment to see if this is a solution that could benefit your organization. (Cognos Analytics can connect to RedShift as well, but doing so is outside the scope of this article). So let’s dive in to connecting Google BigQuery in Cognos Analytics
Steps to Set Up Google BigQuery
Open up a web browser and navigate to https://bigquery.cloud.google.com/
If you’re the rare breed that doesn’t have a google account, you’ll need to create one before proceeding. Otherwise, login with your Google account.
Be thorough and review the Terms of Service
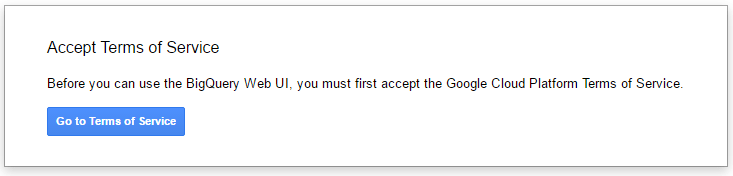
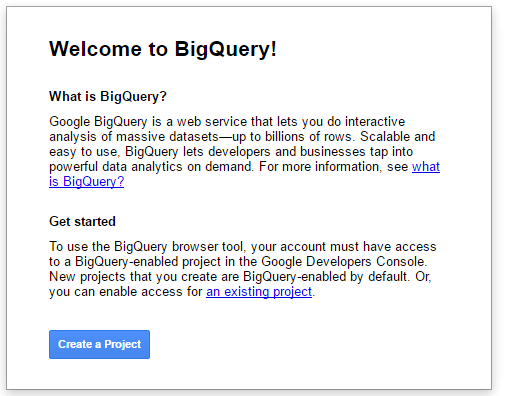
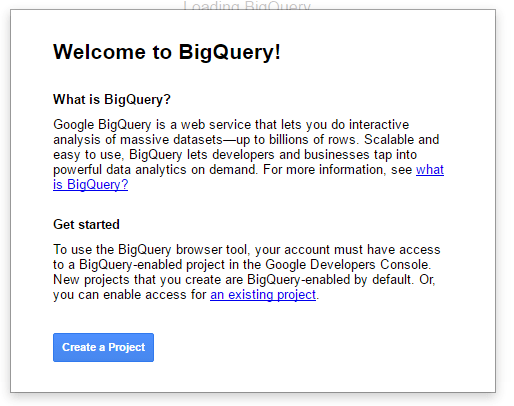
4. If you accept the Terms of Service, you’ll be rewarded with a welcome screen with a bit of info about BigQuery. Click “Create a Project”
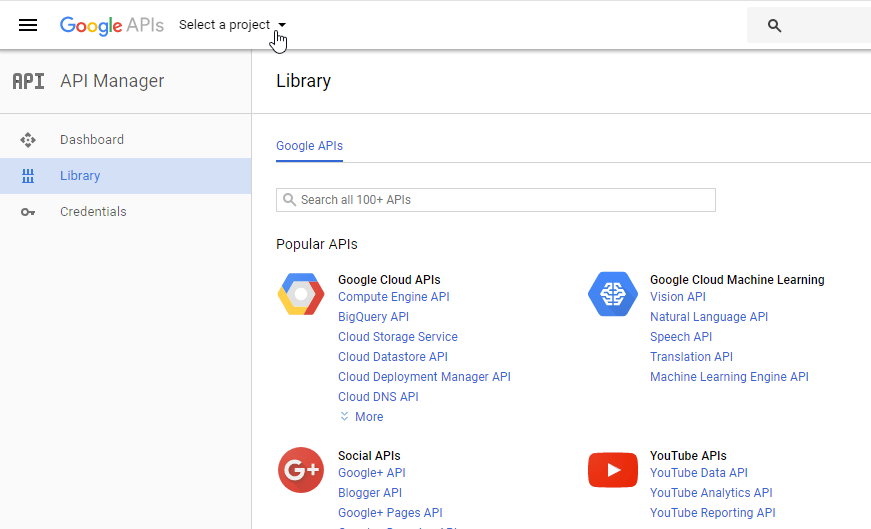
5. Oddly enough, when I’ve gone through this process (and I’ve done it a few times), it never actually creates a project. Instead, it just dumps me in the API Manager Library. No mind, just click “Select a Project” at the top of the screen.
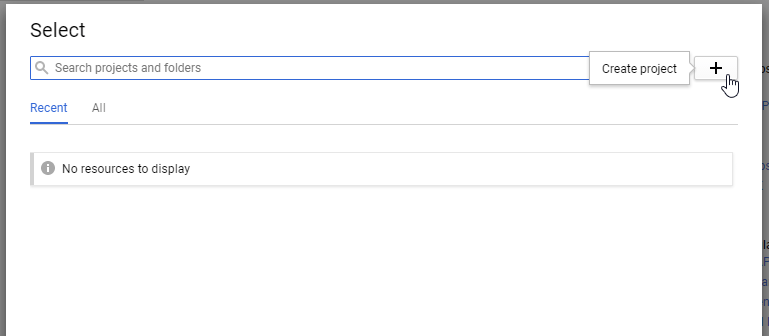
6. Then click the “plus” sign to create a new project.
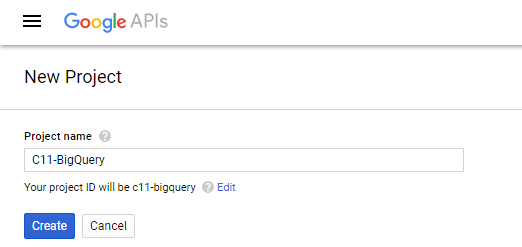
7. Give your project a tremendously creative name such as I did below, and click “Create”. Make a note of your “project ID”, as you will need it later (though you can always come back and look it up if you lose track of it, of course).
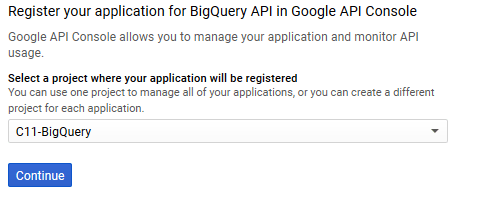
8. Again, counter-intuitively your project is not automatically selected when you create it, so once you get dumped back to the API Manager, you’ll need to click “Select a project” again and choose the project you just created. (Apparently Google developers are way too busy building mind-bending search algorithms to run through the handful of steps to set up their application.)
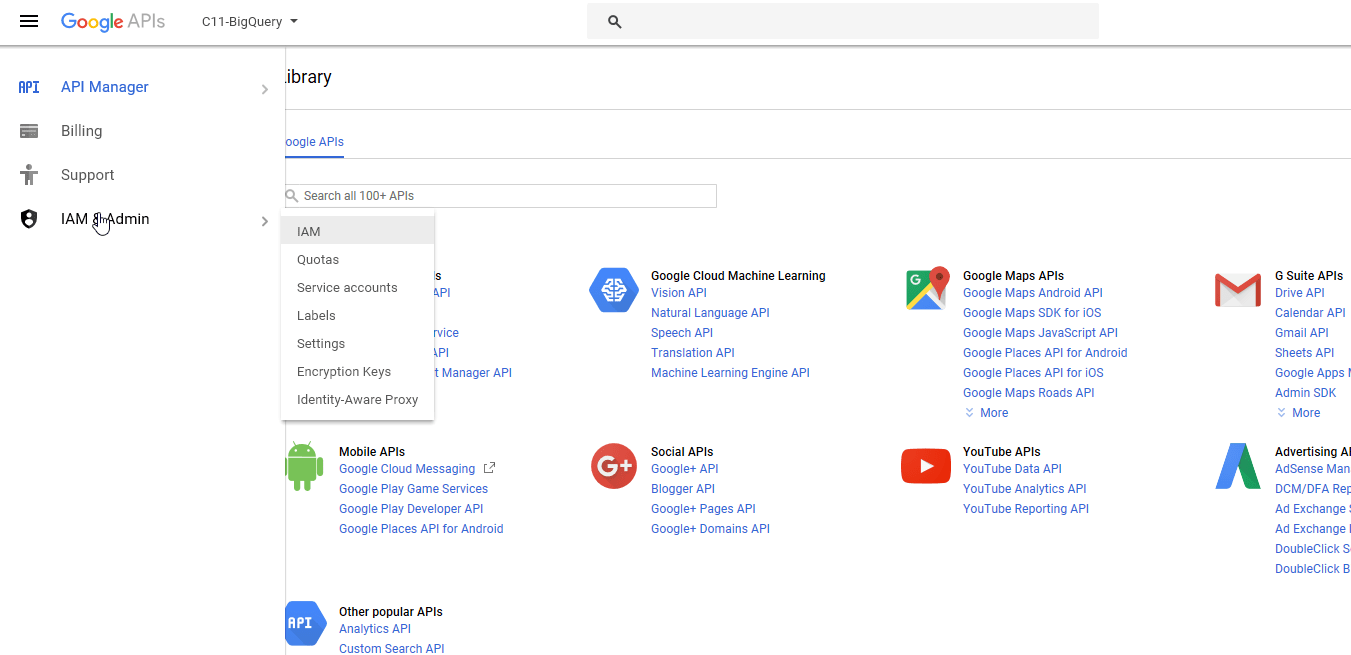
9. Then, click the “hamburger” in the top left, and select “IAM & Admin” from the resulting menu.
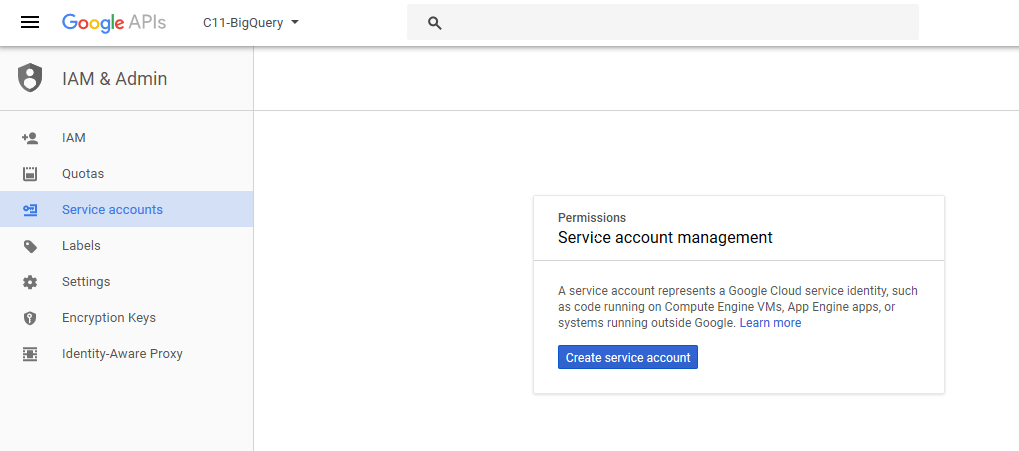
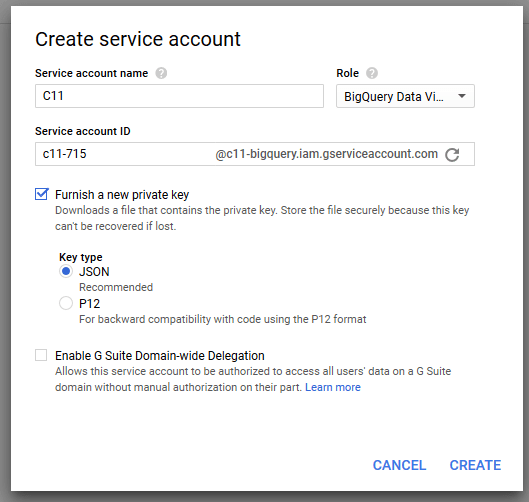
10. Now we’re going to create a service account that Cognos will later use to authenticate to BigQuery. In order to do this, click “Service accounts” on the left and then “Create service account”
11. Give your service account a fascinating name, and specify the role(s) for the account. I haven’t tested or read up on this extensively, but selecting the three shown in the screenshot seem to hit the sweet spot of allowing what is needed for the connection to function without giving unnecessary permissions. Note the Service account ID that is generated, as you’ll need this later.
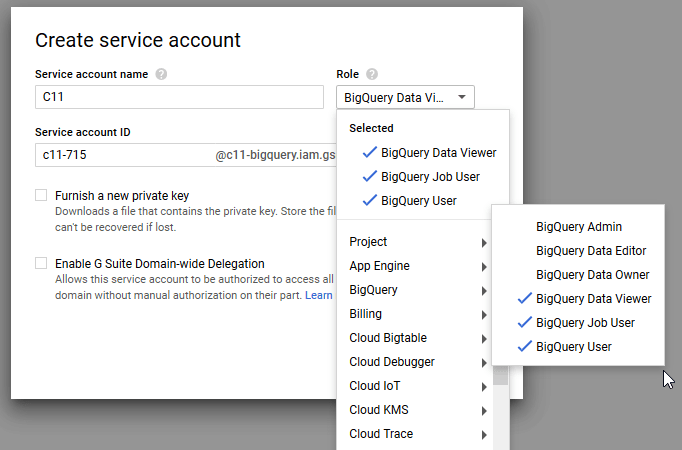
12. Check the “Furnish a new private key” box, and choose JSON. Then click “Create”.
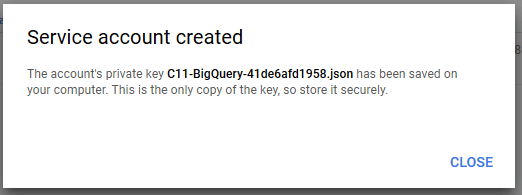
13. Store the JSON file that is generated somewhere safe, as you’ll need it later.
14. Okay, back to idiosyncratic setup steps… Type https://bigquery.cloud.google.com/ in your browser address bar again. You should see the “Welcome to BigQuery!” screen again. But this time click “an existing project” at the end of the paragraph under “Get started”.
15. Click “Continue”
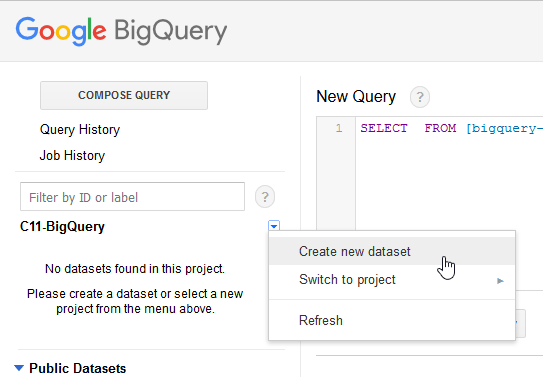
16. You’re finally ready to create a dataset! Click the down arrow next to the name of your project, and select “Create new dataset”.
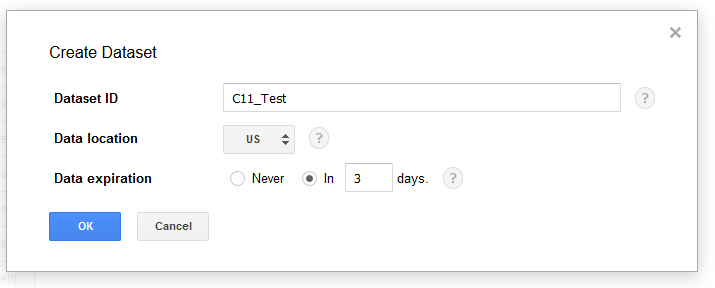
17. Come up with one more compelling name and type it in as your Dataset ID. This will show up as a table in Cognos Analytics.
18. I’m not going to into Google’s sample data or how to query some data here—just reference the BigQuery quickstart guide: https://cloud.google.com/bigquery/quickstart-web-ui (as I understand it, in order to actually pull some data you’ll have to enable billing, but they have a free tier and won’t charge you anything without you taking further action. I recommend verifying this through Google’s official documentation before entering billing info.)
Connecting BigQuery in Cognos Analytics
19. First, download the drivers that Cognos will use to access BigQuery.
20. You’ll want to download the current “JDBC 4.1-compatible” version of the drivers.
21. Extract the contents of the zip file into a temporary folder.
22. Copy all .jar files from the temporary folder to your Cognos Analytics drivers folder (should be something like (D:\IBM\Cognos\analytics\drivers).
23. Stop/start your Cognos Analytics services from Cognos Configuration. (You MAY be able to get away with just restarting your query service from Cognos Administration, but I recommend just restarting all services from Cognos Configuration unless you’re working in an environment where are not able to do so.)
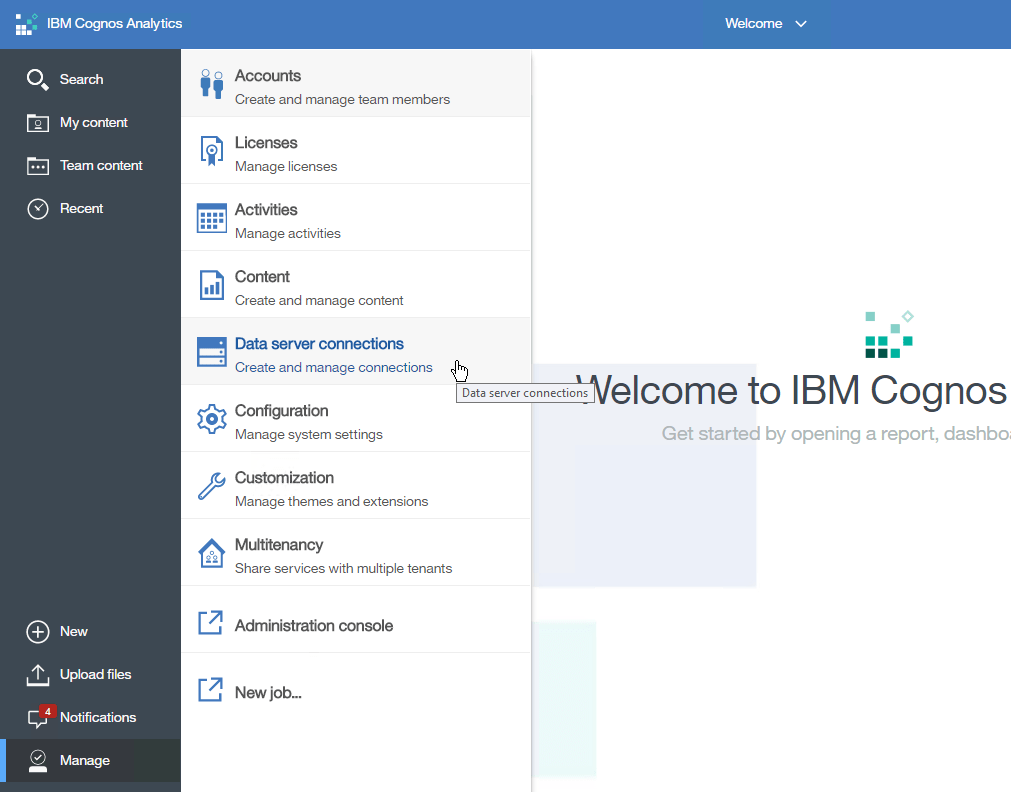
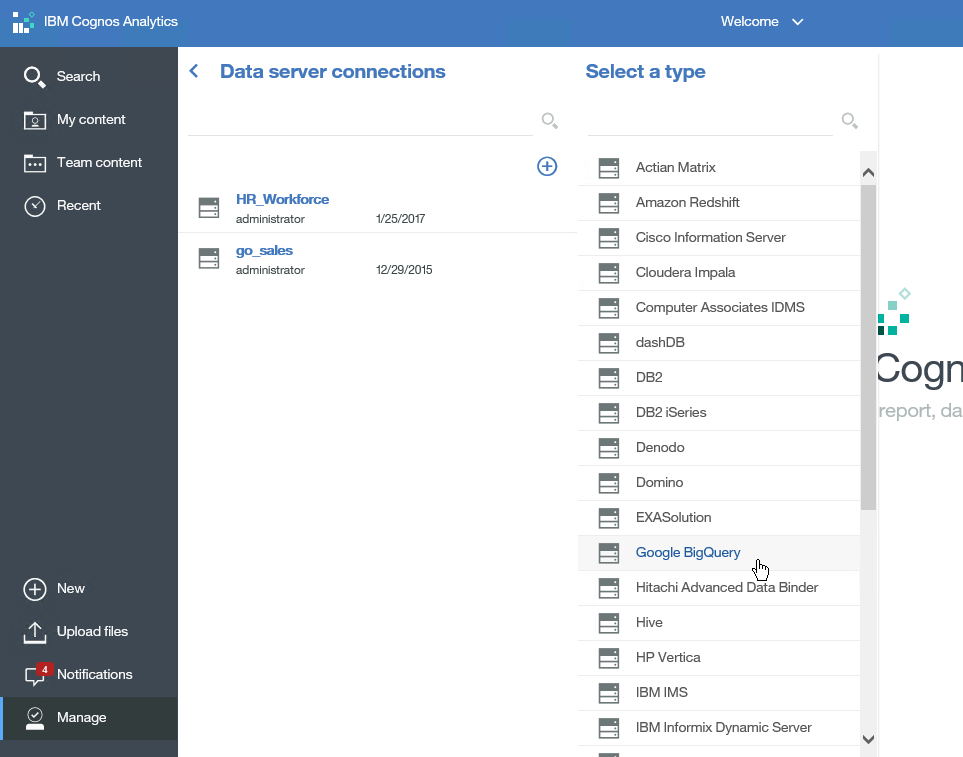
24. Open up Cognos Analytics in a browser and navigate to Manage > Data server connections
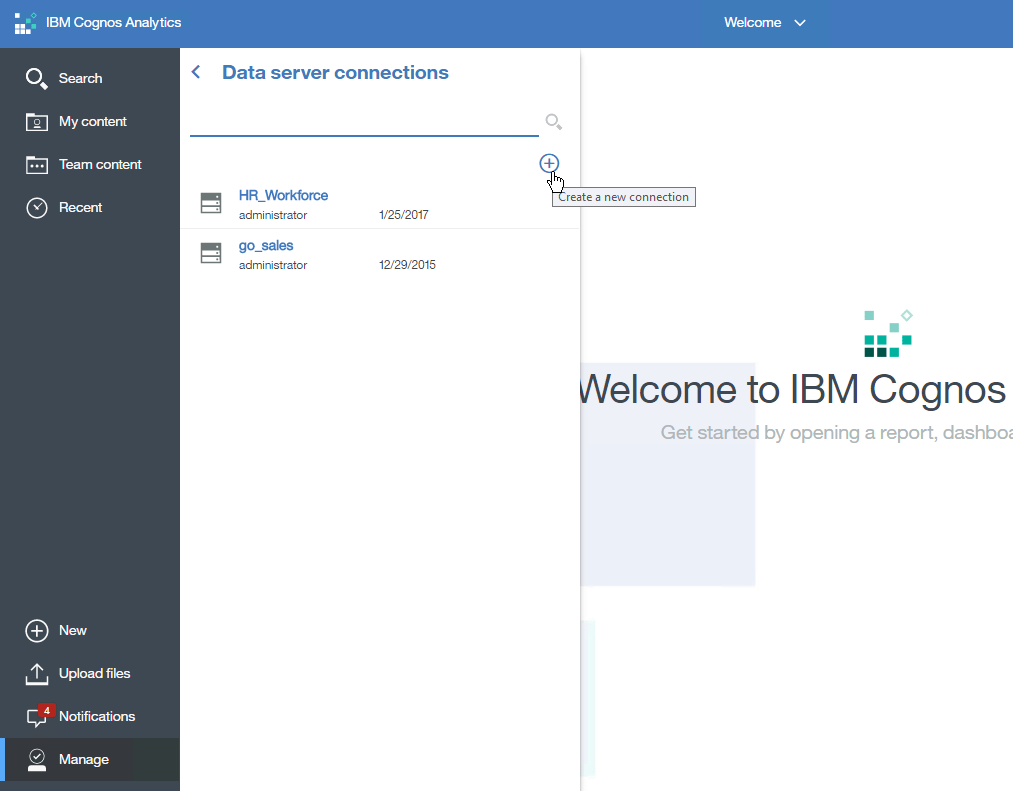
24. Click the circled + sign to create a new connection.
25. Choose Google BigQuery as your type.
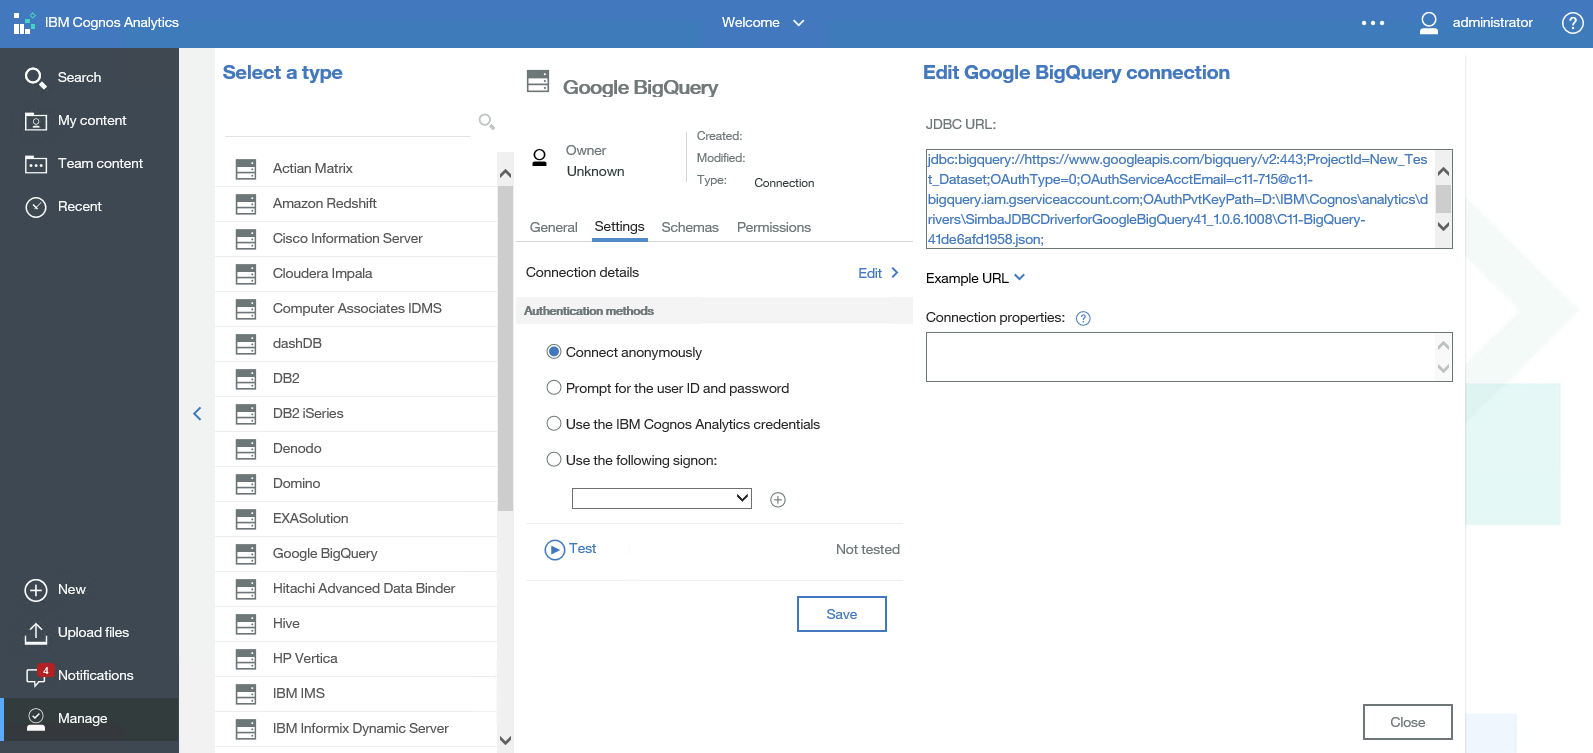
26. Type in the JDBC URL.
The syntax you will need to use is as such:
jdbc:bigquery://https://www.googleapis.com/bigquery/v2:443;ProjectId=[ProjectID];OAuthType=0;OAuthServiceAcctEmail=[ServiceAccountID];OAuthPvtKeyPath=[PathToPrivateKeyFile];For example:
jdbc:bigquery://https://www.googleapis.com/bigquery/v2:443;ProjectId=New_Test_Dataset;OAuthType=0;OAuthServiceAcctEmail=c11-715@c11-bigquery.iam.gserviceaccount.com;OAuthPvtKeyPath=D:\IBM\Cognos\analytics\drivers\SimbaJDBCDriverforGoogleBigQuery41_1.0.6.1008\C11-BigQuery-41de6afd1958.json;NOTE: You can leave authentication set to “Connect anonymously”, although that’s not really what’s happening—the private key file referenced in the JDBC URL is being utilized for authentication.
27. Click “Test” to verify your connection is working properly. If it is, click “Save”. You’re good to go! I recommend creating a data module to test your connection.
Troubleshooting
If you have problems, check the following:
It seems Cognos is only compatible with the 4.1 version of the JDBC drivers
I’ve only had success when copying all the .jar files into the root of the Cognos drivers folder. You can’t use a subfolder for organization.
If you’ve only tried restarting the query Service from Cognos Administration, try restarting all services from there. If you still have problems, stop and start all Cognos services completely in Cognos Configuration.
Verify your JDBC URL
Make sure you are using the Project and Service Account IDs rather than names and that they are exactly correct
Make sure your JSON file name and path is accurate and accessible by Cognos
Verify you can hit Google BigQuery URL included in the JDBC URL from your Cognos server over port 443 (in other words, make sure this isn’t blocked by a firewall).
Conclusion
Now you’re ready to source data from Google BigQuery, and start using your Cognos Analytics system to pull in the results from big data queries, with serious horsepower behind you! I hope you find this article helpful. If you haven’t already, be sure to check out our blog for additional tips and tricks. Subscribe to our e-newsletter for more technical articles and updates delivered directly to your inbox.
Next Steps
If you have any questions or would like PMsquare to provide guidance and support for your analytics solution, contact us today.
